How to Prepare for a Dumpster Delivery
90% of failed deliveries are preventable. Here's the prep checklist — driveway clearance, overhead obstacles, surface protection, and where to put the bin for maximum usability.
20,000+
jobs completed
4.99 ★
463 reviews
Family-owned
since 2014 (12 years)
Licensed & insured
in Connecticut & New York
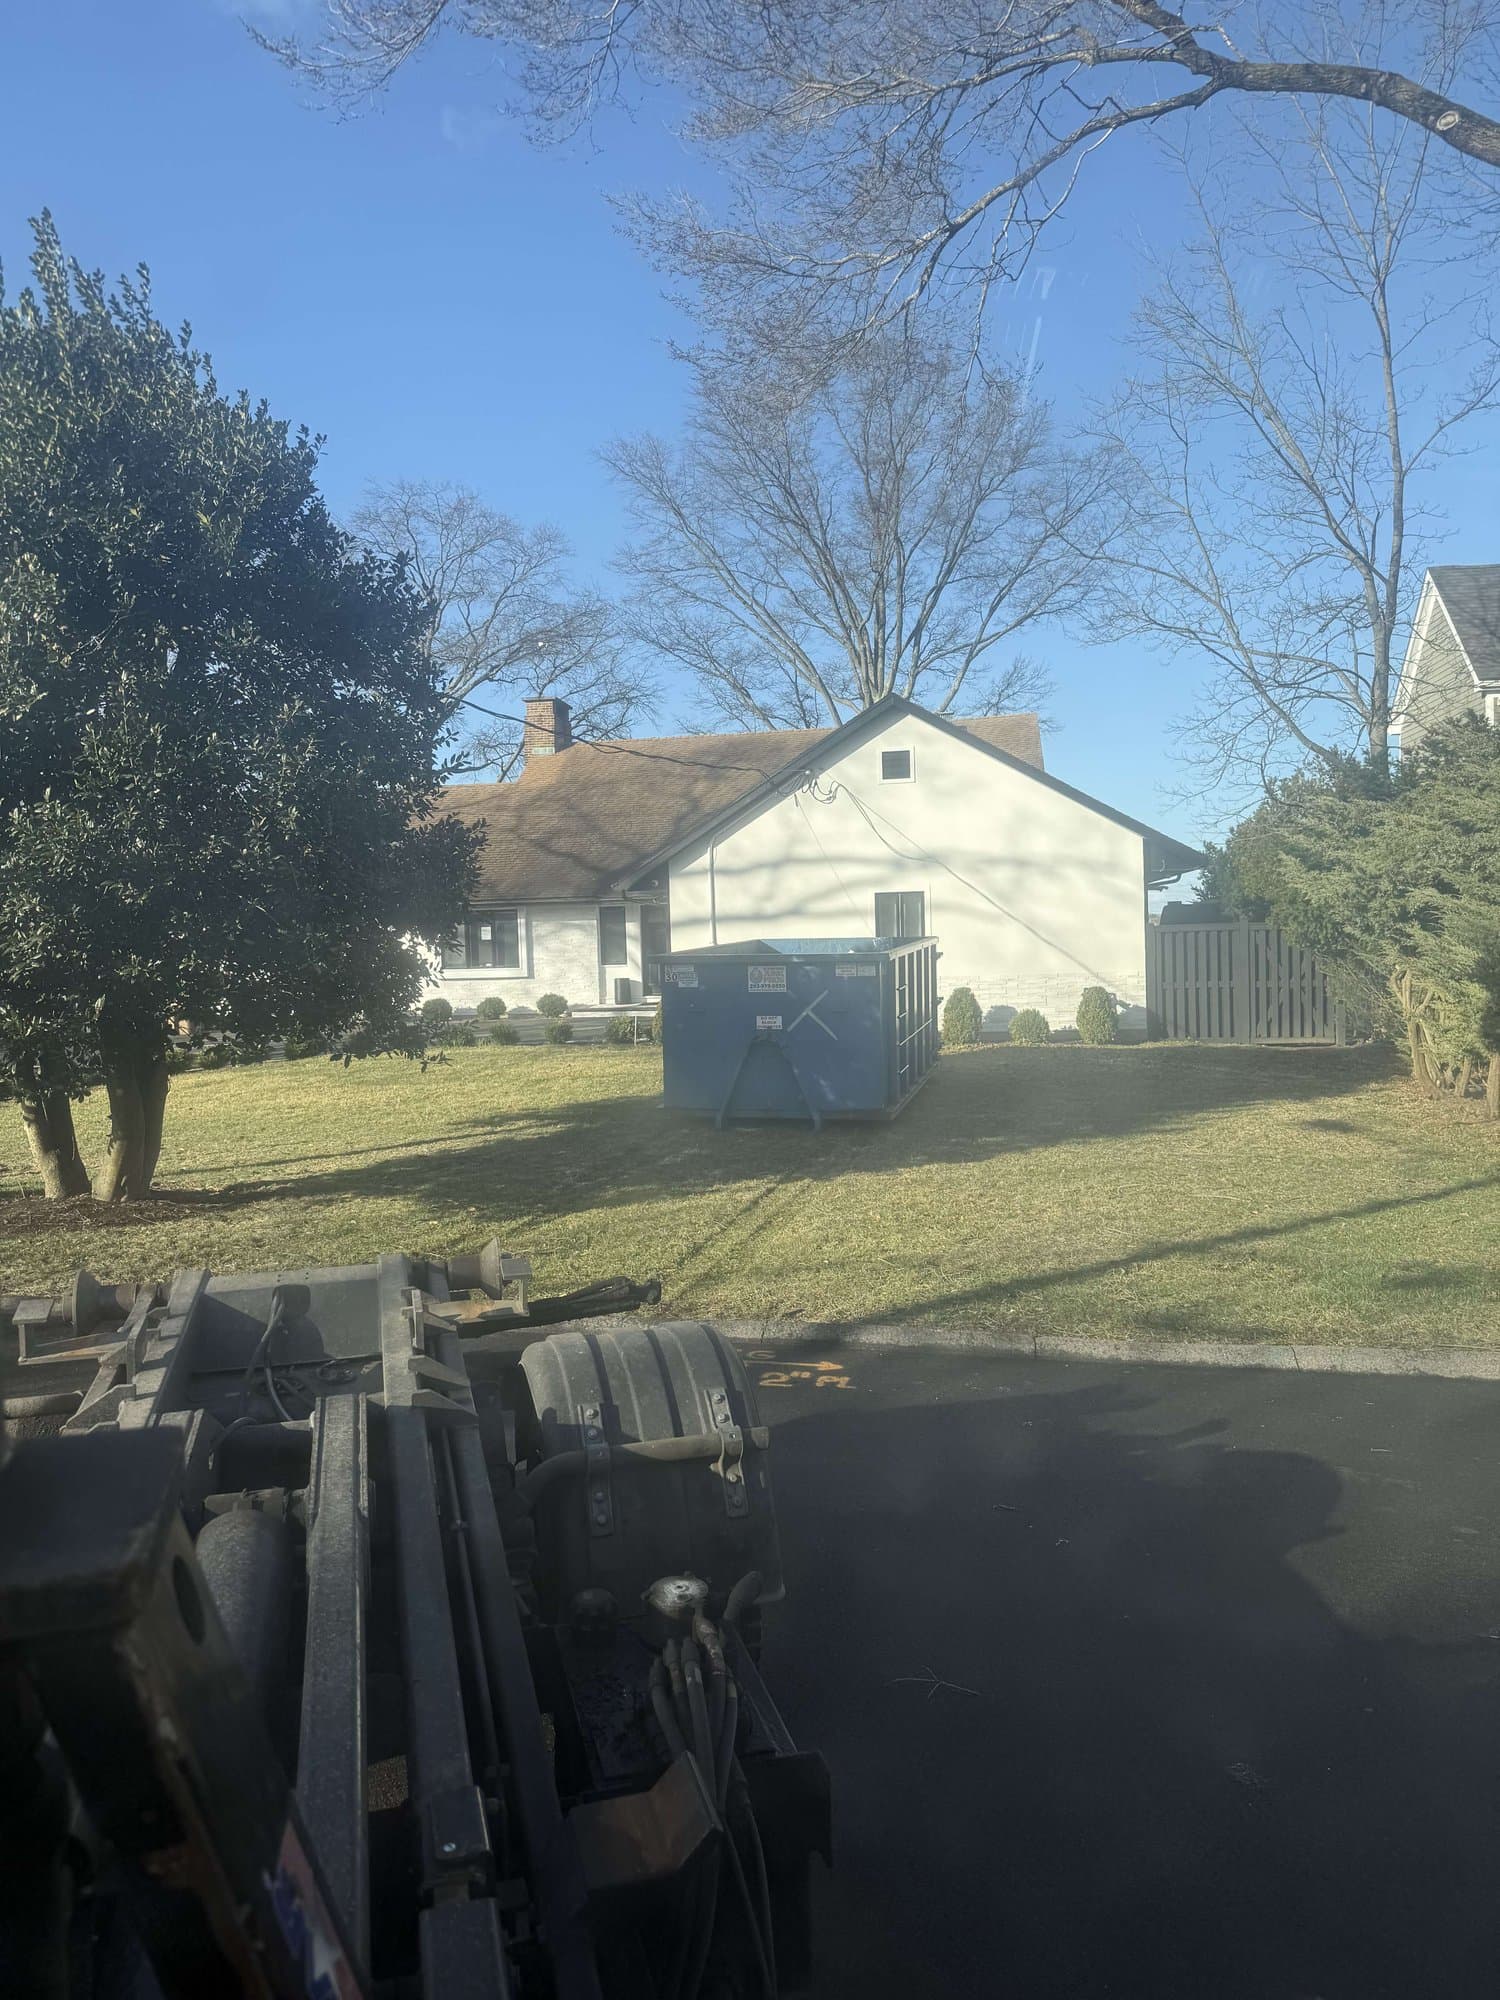
90% of failed deliveries are preventable. Here's what the other 10% look like — and how to avoid joining their ranks.
Of the 20,000+ jobs we've done since 2014, the small minority that go wrong almost always trace back to the same set of issues: insufficient driveway space, overhead obstacles nobody mentioned, placement that wasn't actually usable, or surface concerns the customer didn't think to flag. This post is the pre-flight checklist.
Driveway clearance — the physical space
Roll-off dumpsters need two kinds of space: placement (where the bin sits) and truck maneuver (where the truck operates).
Placement footprint: every bin in our fleet shares the same footprint — 15 ft long × 8 ft wide, about the length of one parking spot (wall height runs 3 to 5 feet by size). The sizes differ in wall height and included weight allowance, not ground space, so the placement plan is identical whichever you book. The 30/40-yard tier is two 20-yard bins: room for two cans side-by-side, or two separate placements (even at different addresses on the same job).
Truck maneuver clearance: The truck backs the bin in, so leave approach room beyond the placement strip on the truck-access side. If your driveway is short or the turn off the street is sharp, text us a photo and we'll confirm the run before delivery.
Width considerations: Standard residential driveways at 10-12 ft width handle our bins fine. Narrow driveways under 9 ft can work — we just position the bin tight against one side. Driveways under 8 ft we can't run; the bin width itself is 8 ft.
Overhead clearance — the thing people forget
Our roll-off trucks travel at roughly 10 ft, so the drive in is rarely the problem. The drop spot is: during delivery and pickup, the hooklift arm and tarp system reach much higher than the truck's travel height — that's why overhead wires and low branches directly over the placement matter more than anything along the route.
Common overhead obstacles:
- Tree branches over the driveway (most common)
- Garage door tracks if the bin will sit near the garage
- Awnings or pergolas extending over the driveway
- Telephone, cable, or electrical service lines (typically high enough, but worth checking)
- Carports and porch overhangs
The rule: if your driveway has anything overhead at less than 15 ft, mention it before delivery. We can either trim the branches in advance, change the placement, or send a smaller truck if available. Surprise-arrival "we can't get under that tree" sends the truck back without delivering.
Surface — what the bin can sit on
We put wood boards under the bin's wheels and skids to spread the load. With that, here's what works:
No problem:
- Asphalt driveways (any age)
- Poured concrete driveways
- Gravel driveways (well-compacted)
- Paver driveways (we use larger boards to spread load across multiple pavers)
- Stamped/decorative concrete with the boards underneath
With caveats:
- Brand-new asphalt or concrete (under 30 days old) — the cure isn't complete; loaded bins can leave depressions. Wait if you can; otherwise we'll use thick boards and position carefully.
- Old, deteriorating asphalt with cracks and weak spots — we'll pick the strongest part of the driveway.
- Pavers with sand-set joints (not mortar-set) — wood boards spread the load to prevent paver shifting.
- Slopes over 5 degrees — loaded bins want to slide on slopes. Level placement is safest; if your driveway slopes, we'll wedge the wheels.
Should be avoided if possible:
- Lawn or soft soil — only if dry, and even then the loaded bin will leave marks. After rain or in spring thaw, never.
- Newly-installed retaining walls or paved surfaces — wait for the install to cure.
- Sand or beach driveways — the wheels sink; loaded bins won't recover.
Placement strategy — where to put the bin
Most usable placements share a few characteristics: close to the work, accessible from multiple sides for loading, on a stable surface, and not blocking critical egress (garage doors you need, fire-egress paths, mailbox).
The most-used placements:
- Top of the driveway near the garage. Standard residential default. Easy load-in from the garage, doesn't block the apron, truck can back in and out. Works for 90% of residential jobs.
- Side of the driveway against the lawn. When you need the garage clear or the apron clear, the bin tucks against the lawn edge.
- On a side yard service path. For larger properties with side-yard equipment paths, the bin can sit there if the path is wide enough and surface holds.
- Across two parking spots in a multi-unit driveway. Common for duplex or rowhouse properties.
- In the lawn (only when dry, only on a planned-replace lawn). Yard renovation projects where you'll re-seed anyway sometimes accept the bin on the lawn.
Bad placements to avoid:
- Blocking the garage door if you need vehicle access during the rental
- Blocking the back gate if you need to bring debris from the backyard
- Across the apron blocking the street (compromises both your access and the truck's pickup approach)
- Under low branches you'll need to clear for the truck (creates a "where do we go when we pick up?" problem at the end)
Protecting your driveway
Standard practice: we put 2x10 or 2x12 wood boards under the bin's wheels and skids. The boards spread the loaded weight across more square inches of surface, preventing the point-load concentration that causes asphalt depressions or concrete cracking.
Additional protection you can add:
- Old plywood sheets across high-value decorative surfaces
- Cardboard layers (for very thin protection on stamped concrete)
- Carpet remnants for paver protection in winter
For premium stamped concrete or stained decorative surfaces, tell us in advance — we'll bring extra boards. For brand-new installations, wait until the cure is complete.
Street placement and permits
Most CT towns require a right-of-way permit to place a dumpster on a public street. The permit:
- Is pulled from the town public works office (sometimes police department)
- Typically costs $25-$75 depending on the town
- Takes 2-5 business days to process
- May require traffic cones, signage, or other safety equipment
- Has duration limits (often 7-14 days)
For driveway placement, no permit is needed. Most residential bookings just go on the driveway, which is also what the homeowner wants anyway (the bin is right where the work is).
State route placement (along a CT state highway like Route 1, Route 7, etc.) requires a CT DOT Encroachment Permit instead of a town permit — separate process, longer timeline, more involved. Not common for residential work; mostly comes up on commercial projects.
For full pricing and inclusions context, see how pricing works or the dumpster rental service page.
Same-day delivery prep checklist
Same-day delivery (call before 11 AM, in-area town, our morning route has capacity — see same-day vs. next-day) requires placement decisions made before the truck arrives. Run this before calling:
- Identified the placement spot (top of driveway, side of driveway, etc.)
- Cleared the placement spot of vehicles, equipment, and other obstacles
- Checked overhead clearance from the street to the placement (no branches under 15 ft)
- Confirmed driveway surface can handle the load (especially for premium surfaces, mention to us)
- Have gate codes ready if your property has gated access
- Know the truck-access path (which way the truck should approach)
If any of those are uncertain, the call (rather than the instant-quote tool) is faster — we can talk through the placement question in 60 seconds.
When in doubt, send a photo
Text a photo of your driveway to (203) 219-8855 along with your address and the size you're considering. We can confirm the placement works, flag any concerns, and book the slot from there. Photos save more delivery-day surprises than any single thing we recommend.
For straightforward residential placement, the instant dumpster quote walks through these questions and books the slot. For complex situations — gated property, very tight driveway, decorative surface — the phone path beats the form.
A delivery that lands cleanly is a project that starts on time. Five minutes of prep saves hours of rescheduling.
Ready to talk through your project?
Call (203) 219-8855, 8 AM – 10 PM, 7 days; live team Mon–Fri 8 AM – 4 PM, AI phone assistant other times. Or use the instant-quote tools below.
Looking for service in your area?
We dispatch from two depots — Stamford and West Haven — across 5 CT counties + lower Westchester NY. Each county page rolls up the towns we cover with depot dispatch realities and same-day-vs-next-day framing.
Related posts
- Logistics6 min read
Do You Need a Permit for a Dumpster on the Street in CT?
The rule is simpler than the internet makes it: your driveway, no permit; the public street, permission first. What varies town to town is everything after that sentence.
By Justin Hubbard - Logistics5 min read
How Long Can I Keep a CT Dumpster?
Rental duration is the most-confusing aspect for first-time customers. Here's the real timeline — 7 days included, $15/day extensions, and when swap-out beats keeping.
By Justin Hubbard - Logistics7 min read
Same-Day vs. Next-Day Dumpster Rental
Most CT haulers advertise same-day delivery. Here's the honest version — when it actually works, what call timing does to your odds, and where next-day is the right answer.
By Justin Hubbard
Answered 8 AM – 10 PM, 7 days; live team Mon–Fri 8 AM – 4 PM, AI phone assistant other times.